
Creating Metal Garden's skybox
Aleksandra Herout, Feb 18, 2026
Hi there!
I wanted to talk a little bit about how I made the skybox for Metal Garden, as I couldn’t find that many resources on making 2D skyboxes when I was working on Metal Garden, and felt that it was an interesting topic to cover. I don’t know if this will be useful to anyone, but I figured it wouldn’t hurt to write about it.
Some very quick introduction for the unfamiliar: skyboxes are a method of creating a background image for a 3D game world, usually including the sky, clouds, stars, sometimes even distant buildings or mountains - all things outside the play area. Most often these are made by projecting a texture onto a large sphere or cube that surrounds the game level, but in the last few years volumetric skies have also appeared, offering fully dynamic clouds at the cost of heavier performance.
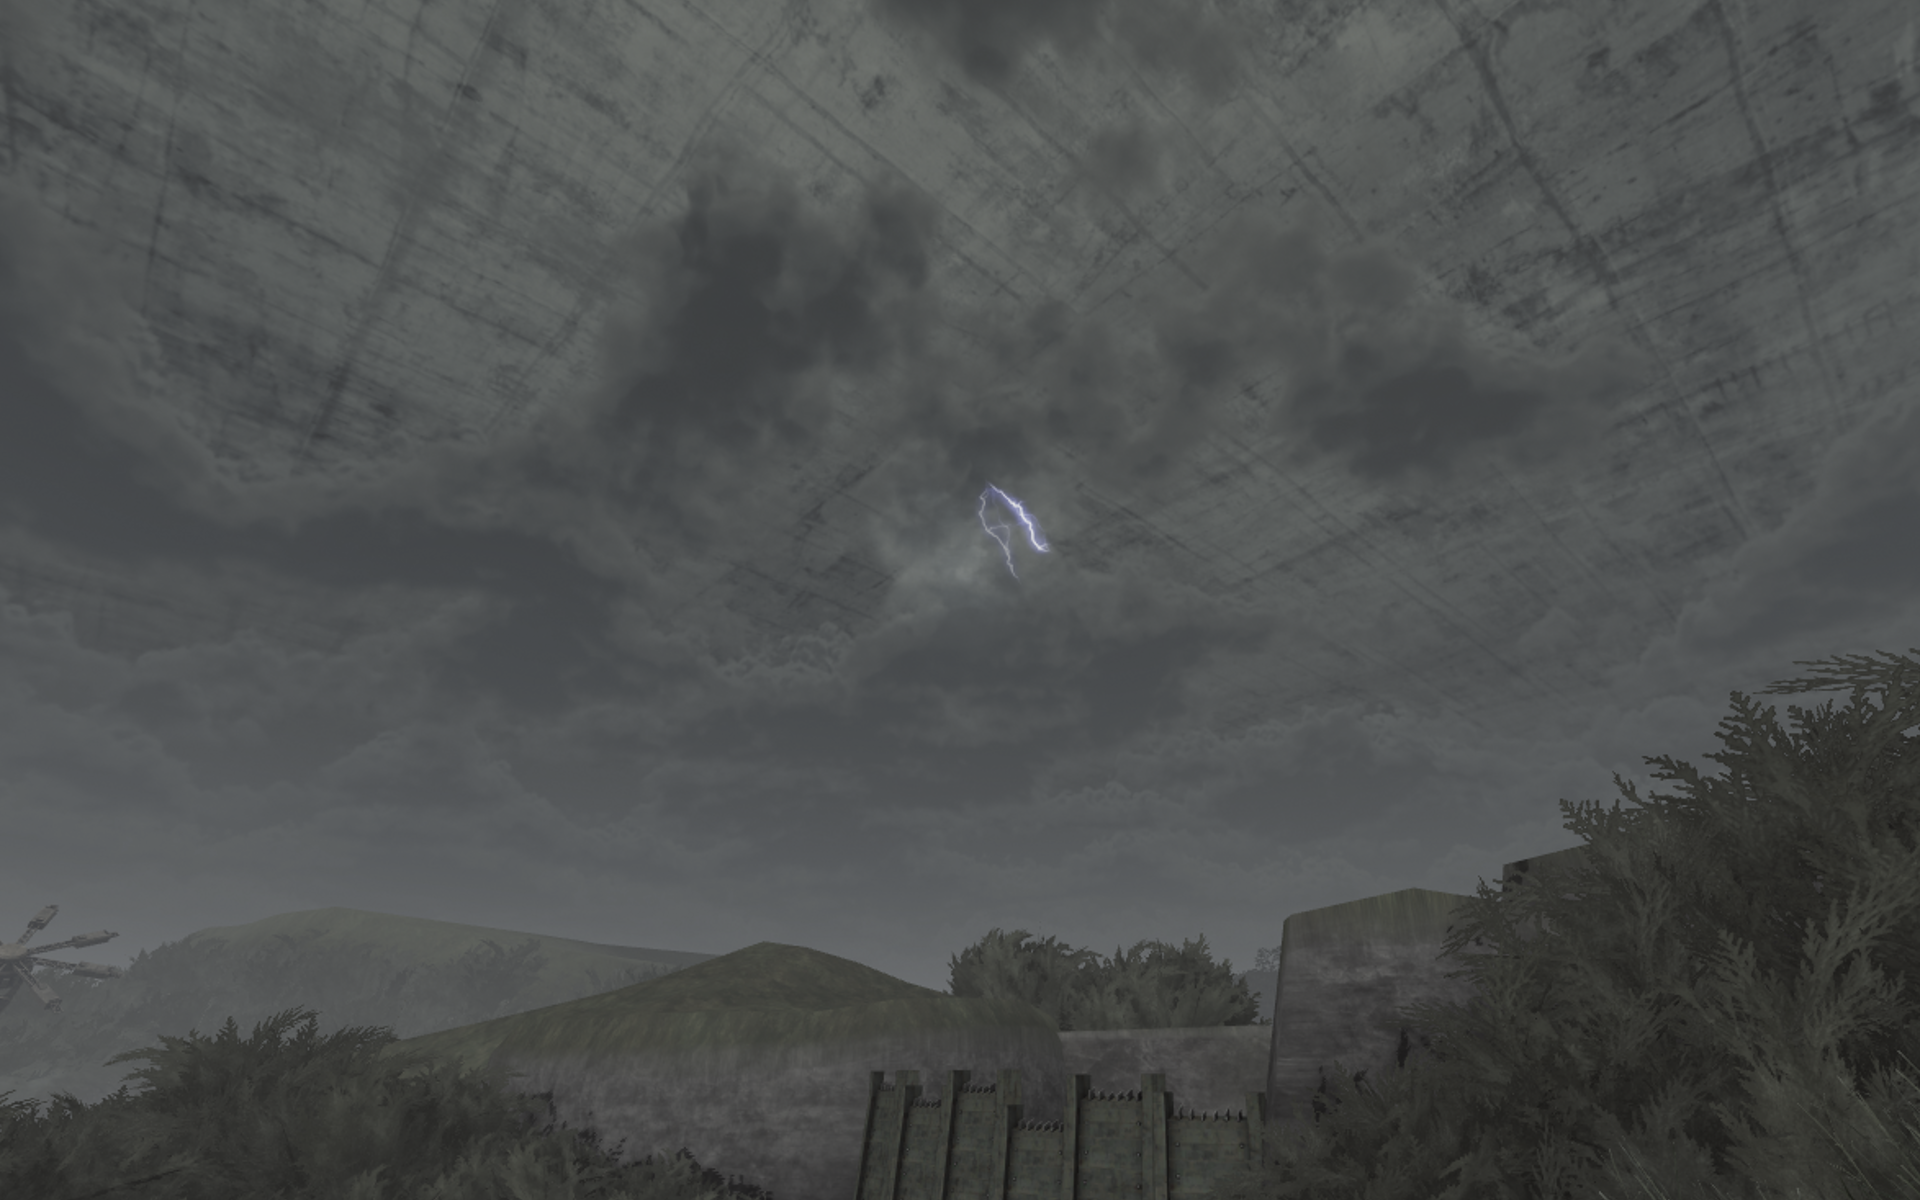
For Metal Garden, I used a 2D skybox texture projected onto a sphere, with a few extra tricks to add dynamic lighting flashes.
I’m going to split this post into two parts:
- making the skybox texture itself,
- making the dynamic lighting effect.
While the basic principles behind this process can be applied to other engines as well, this post is only going to cover working in Unreal Engine 5, as that’s the engine Metal Garden was made in.
1. Making the skybox texture
Painting or photo editing a skybox is by far the most direct way of creating one, but considering the way skyboxes are unwrapped for projection on a sphere/cube, this can certainly be difficult. To make this process a bit easier for us, we can create a skybox ‘scene’ inside Unreal Engine, and then bake it onto a cubemap, which will let us copy the scenery from that scene onto a texture!
But first, we need to actually create a scene we want to capture.
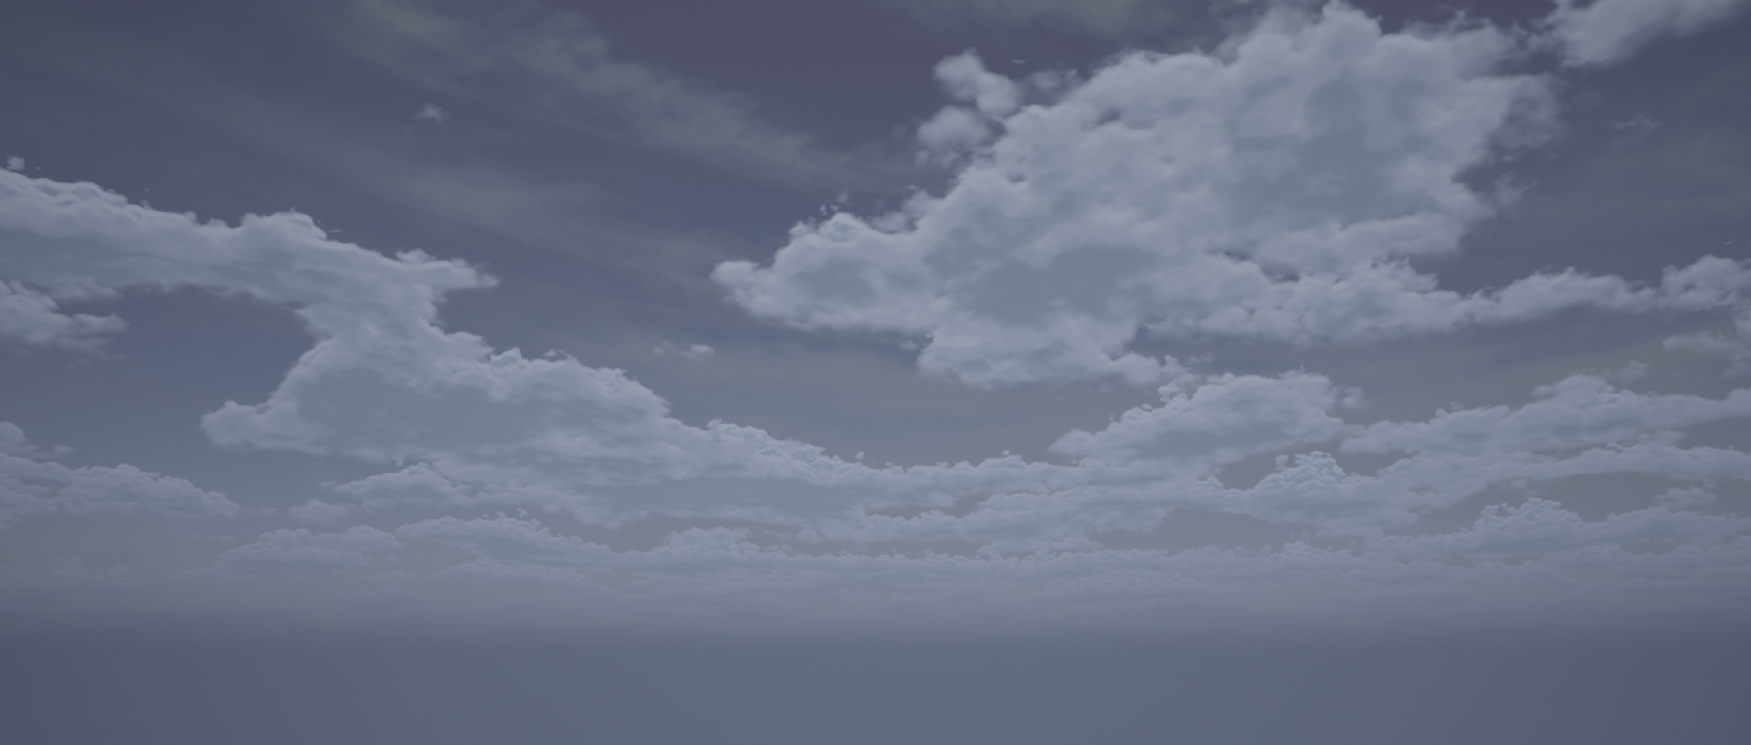
This is one place where volumetric skies that are available in Unreal Engine 5 become incredibly handy. Even if you don’t wanna deal with the performance impact of using real-time skies, the fact that they can be easily adjusted to fit all kinds of different cloud cover types and times of day makes them really good for our purposes.
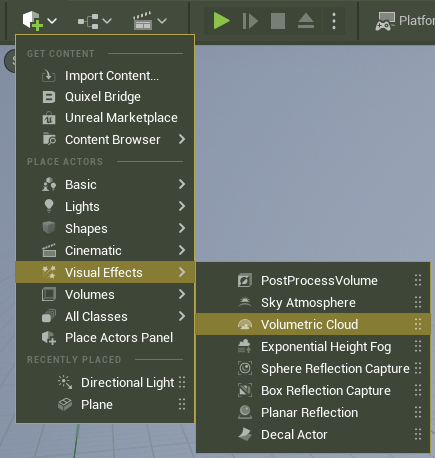
This post won’t go into how to create a good looking volumetric cloud cover in Unreal Engine, as that’s a bit outside the scope of this post, but there are plenty of tutorials and guides around the Net on how to achieve a good look with them.
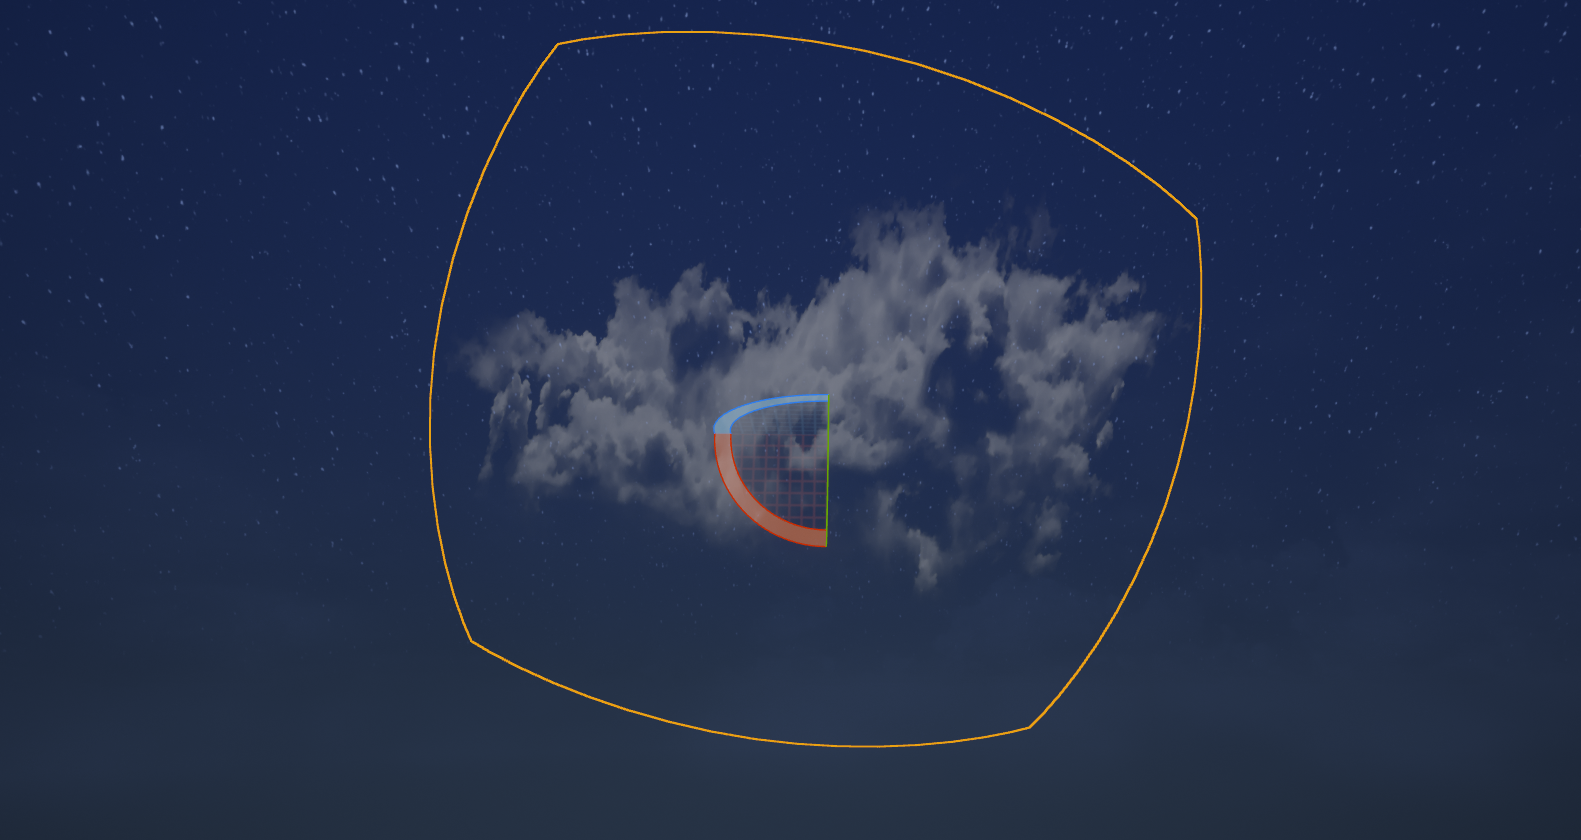
Another option instead of volumetric clouds would be to use alpha cutout cards with images of clouds. These can be arranged around the sky of the scene to make a convincing (or painterly) cloud cover! You can also take your own pictures of clouds this way, erase their background in an image processing program, and fully create an even more unique skybox :)
There are also packs of cloud textures you can get online. such as the SkyCard pack that’s available on the Unreal Engine store.
The final part necessary for Metal Garden’s skybox texture was the concrete ceiling, since Metal Garden takes place in a vast enclosed megastructure. For this I just created a large plane with a concrete texture attached, and made a transparent material for it which slowly fades out at the edges - you don’t want a hard cutoff line in the distance, after all.
For a while, I also experimented with adding ceiling lights to the ceiling texture (because obviously the interior of the megastructure needs to get its lighting somehow), but I just couldn’t get them to look convincing in the style I was going for. This did end up getting incorporated into the lore of the game, so always be on the lookout for creative solutions where a technical one won’t suffice :)
I did however add some additional scratches to the ceiling texture, to create a more weathered and battered look for it.
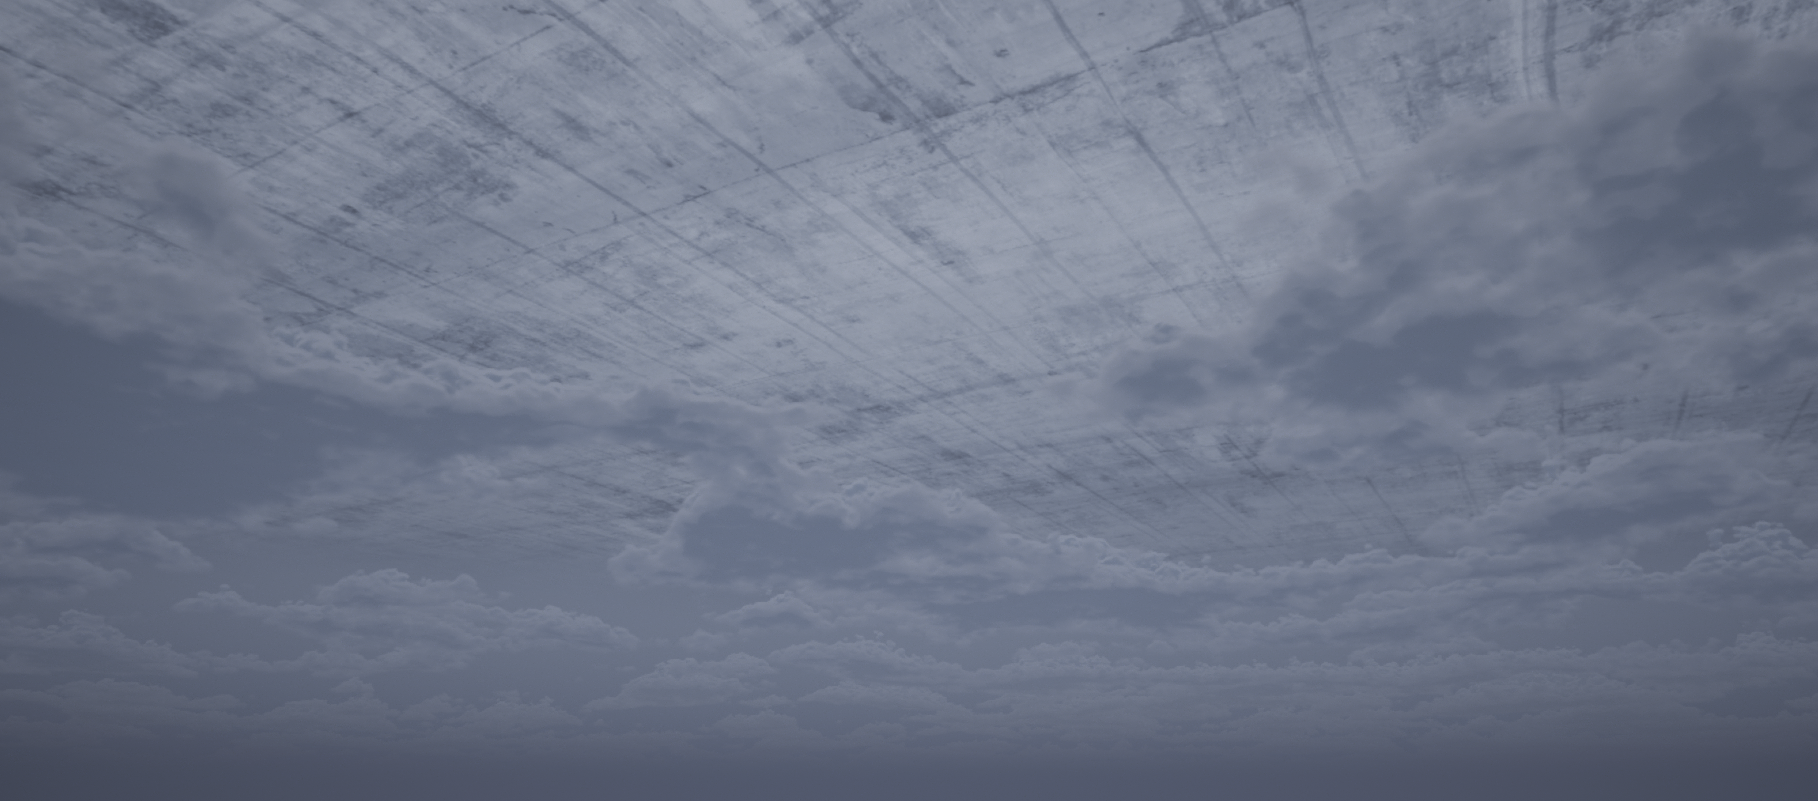
All that remains at this point is to actually bake the texture.
First, we’re going to add a Scene Capture Cube into the scene, which we can use to capture scene visuals. Then, we’ll create a new Cube Render Target in the material browser - this is the texture onto which we will do the baking. Now assign it as a Texture Target in the Scene Capture Cube, enable ‘Capture on Movement’ option on the Scene Capture Cube, and move it around a bit to bake the image of the scene onto the texture! In the Cube Render Target’s texture settings, you can also adjust the texture size if you want a lower or higher resolution skybox.
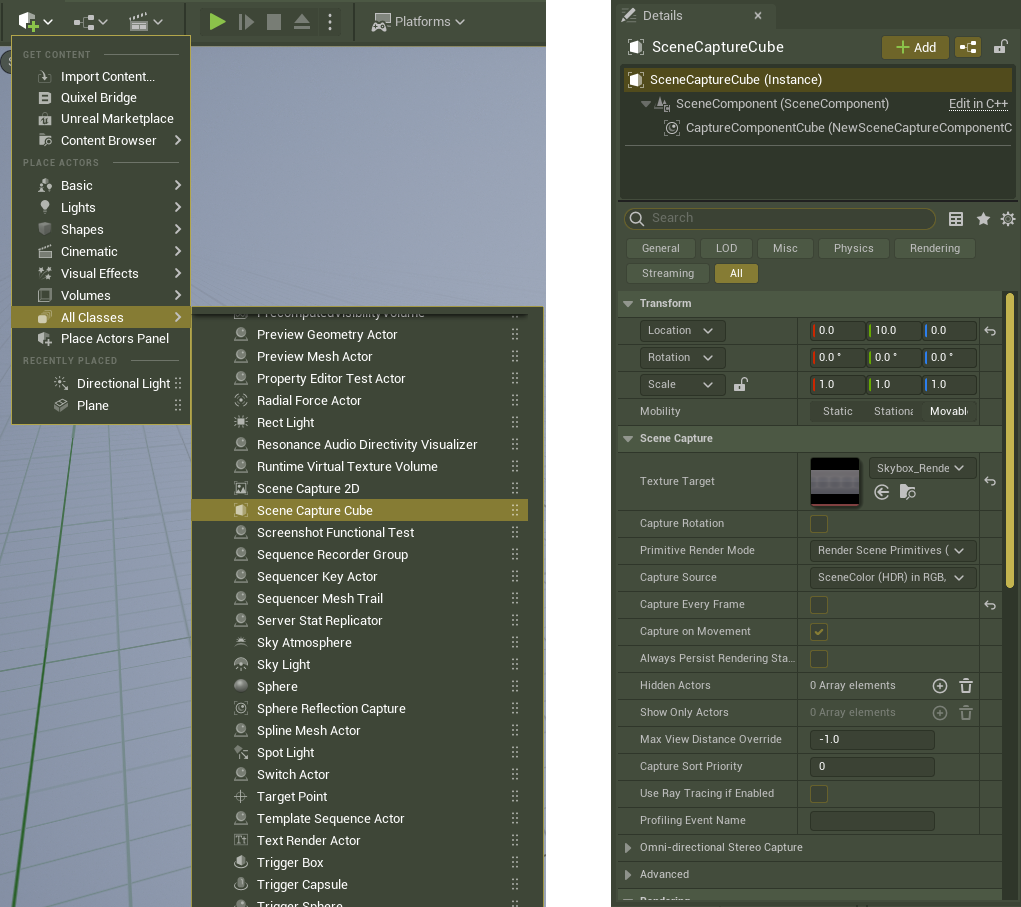
And that’s it! You can now admire the skybox texture you’ve created!
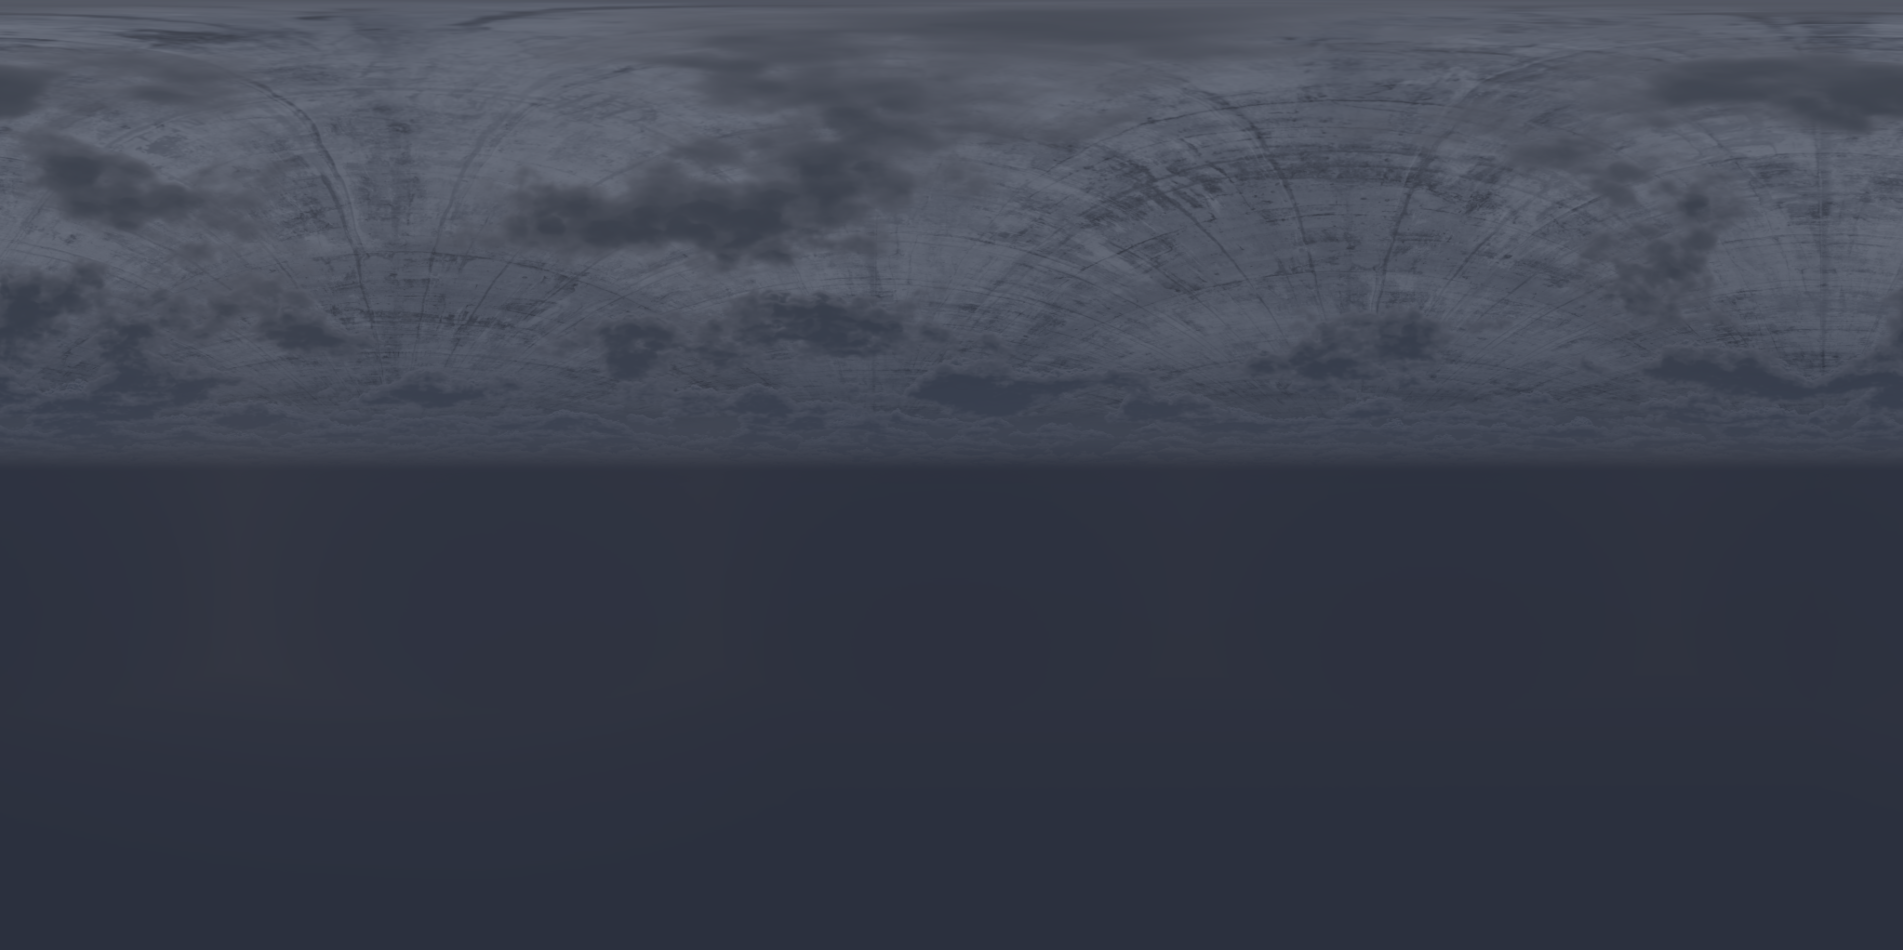
To actually use it in a scene, you need to apply the texture to a sphere with an equirectangular projection, which you can get easily from most 3D modelling programs. Also interesting note, that’s the same type of projection used for flat maps of Earth!
2. Making the dynamic lighting effect
The other part of Metal Garden’s skybox are the dynamic lighting strikes that play out across the skybox. These are made of two parts: the actual lighting strike, and an accompanying flash that brightens a portion of the skybox.
To create the lighting strikes, I used an electrical charge texture animated through a few cycles, and projected onto a material billboard (ie. a material that’s always facing player camera). I also added a bit of inconsistency to the lighting strikes firing, so that flashes will appear more often than lighting strikes, but more on the former in a moment. These lighting strike objects I then distributed around the skybox, and created a simple piece of code that selects a new lighting strike location every few seconds, enabling only that one material billboard object.
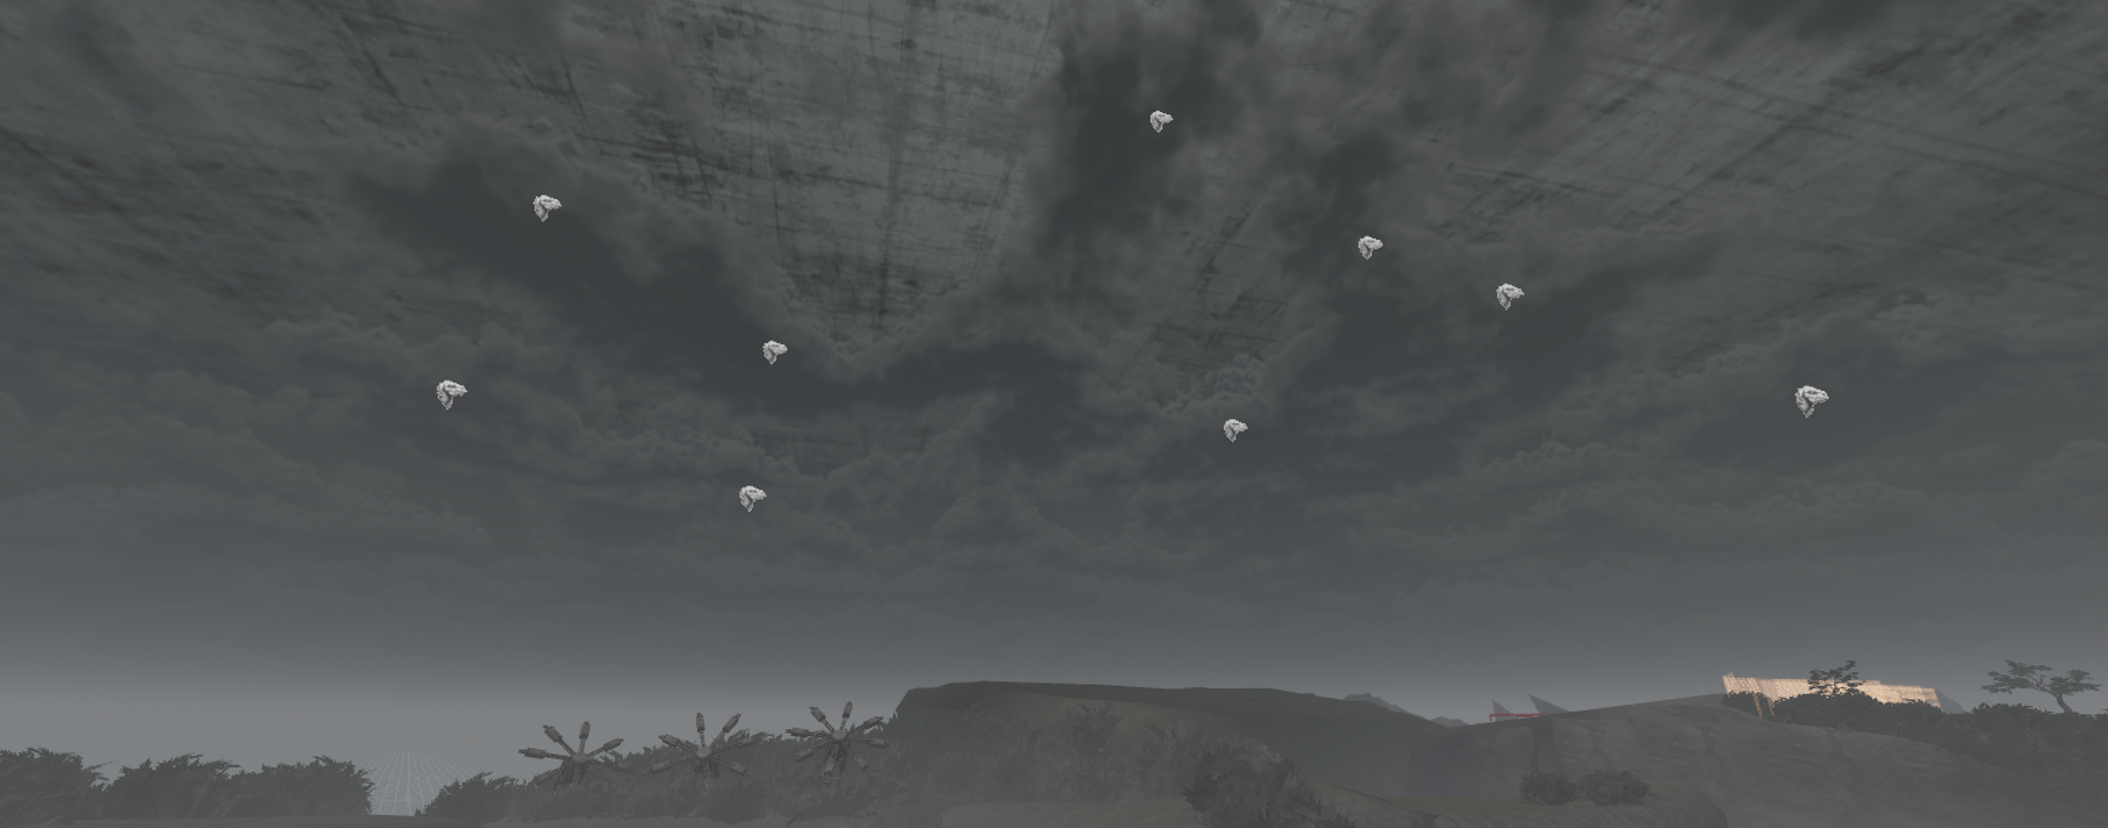
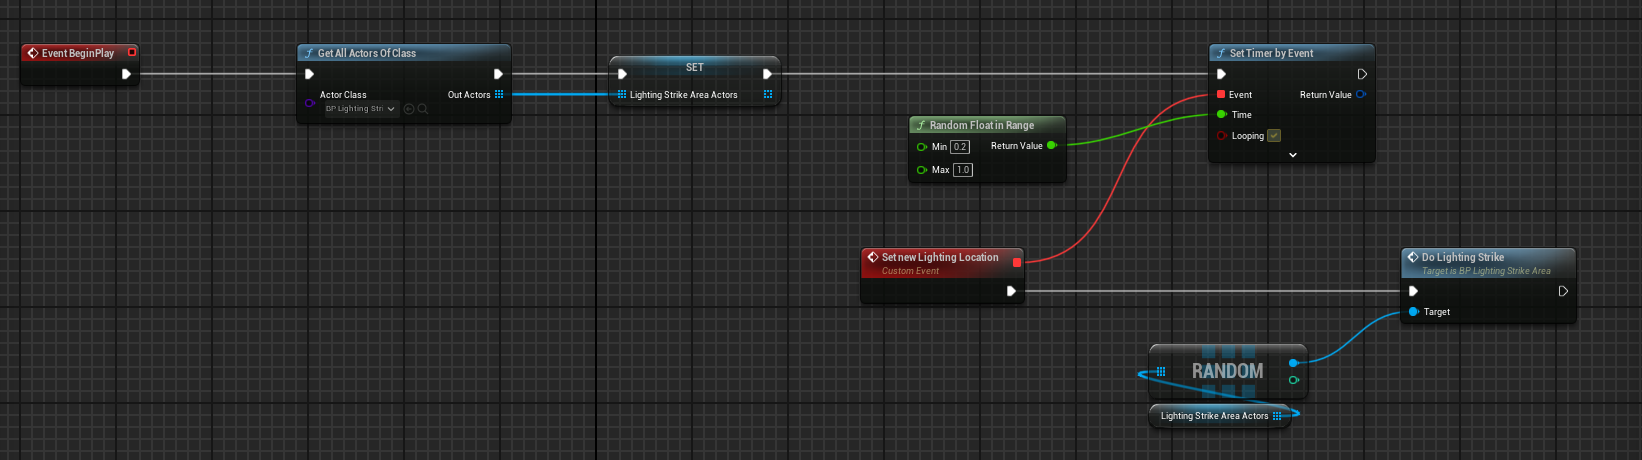
That handles the lighting strikes!
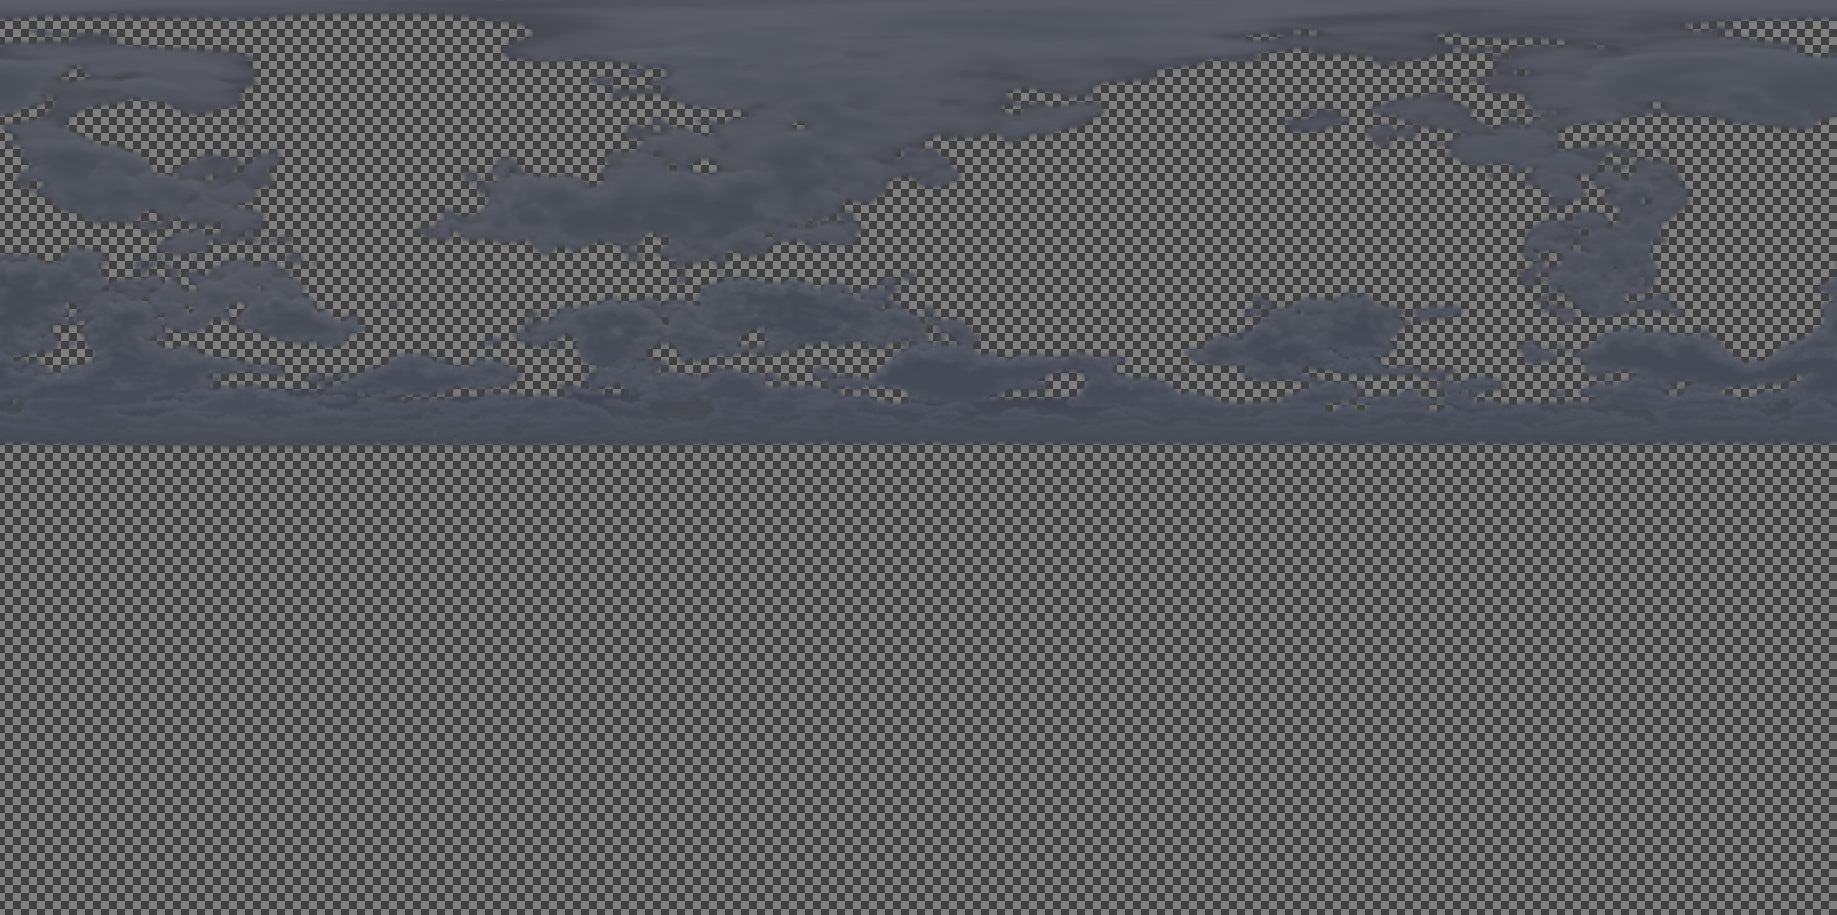
To create the flashes that brighten up a portion of the skybox, I had to get a little bit more creative. I decided to handle them by creating a mask of the skybox texture that only contains the clouds, and then playing small flashes over that mask in sync with the lighting strikes.
The cloud mask was easy enough to make (if a bit lengthy) in a photo-editing program by manually selecting and deleting all non-cloud areas of the skybox.
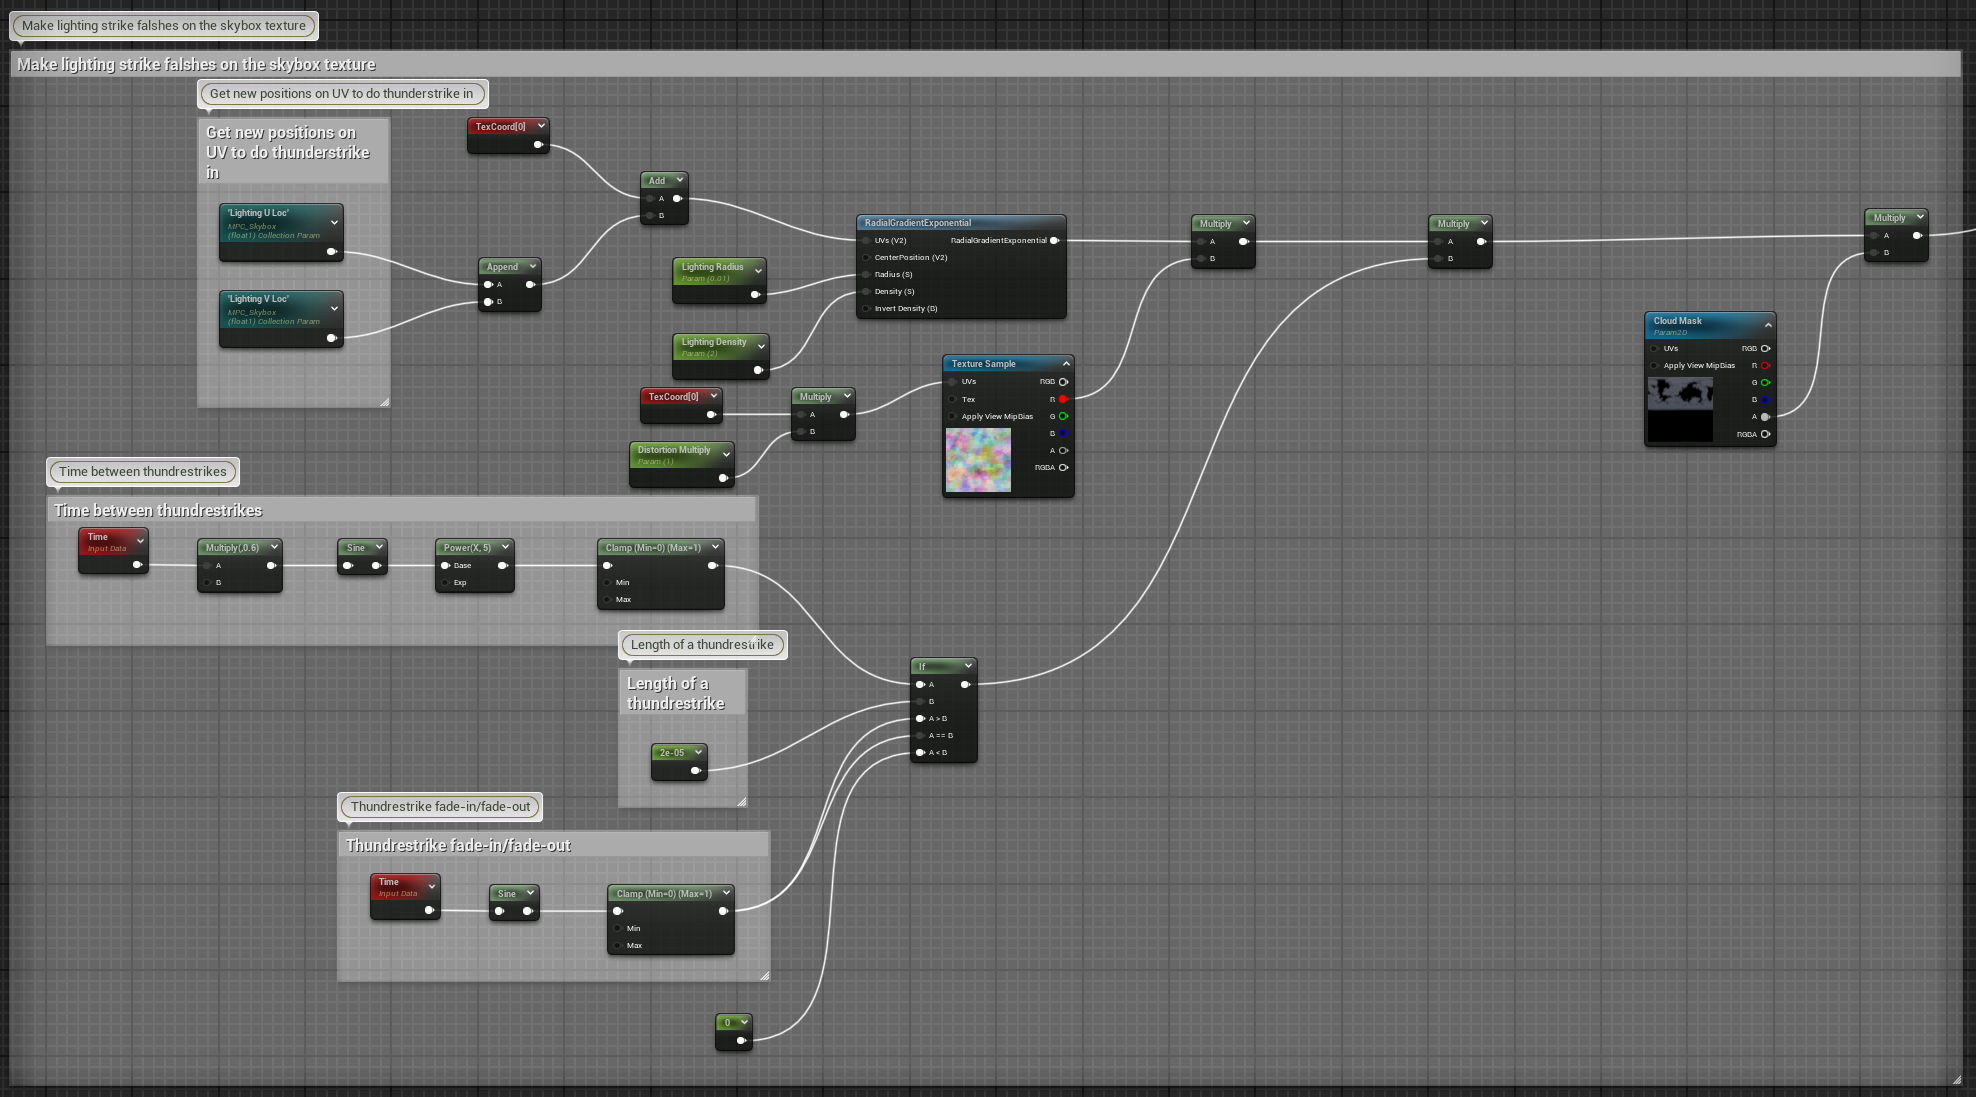
For finding the location and timing of the lighting strikes, I used a Material Parameter Collection - basically a piece of data that can both be used inside materials, as well as be edited with Blueprint nodes outside it at runtime. For each lighting strike location from the previous step I determined its X and Y position on the skybox, and then fed the current location into this Material Parameter Collection. Then I just applied a radial gradient over it and multiplied it with a noise texture to get a natural looking distortion!
And that’s it! This is all the work that went into Metal Garden’s skybox :3
I hope you enjoyed reading this, and maybe even learned something you can apply to your own projects. To end this post, here’s a look at Metal Garden’s skybox in action: